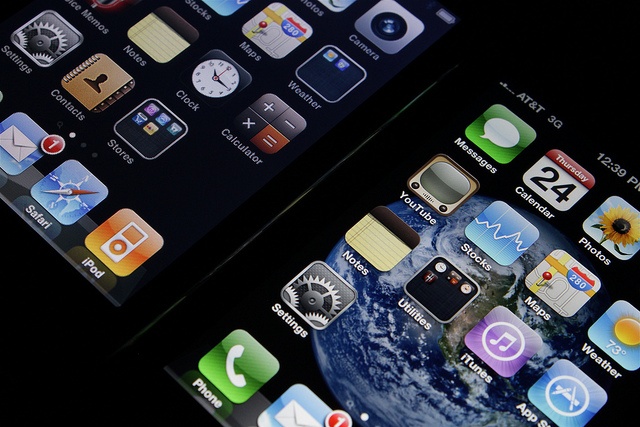
The iPhone is one of the leading smartphones on the market. Because of its internal hard drive and the ability to get online on a whim, the phone is basically a mini computer. With the rise of identity theft, computer users are scrambling to get their computer protected by software. However, the threat against iPhones is somehow overlooked. If you are taking the necessary steps to ensure that your iPhone is secure, you could be at risk for an attack. If you have SIM only with Internet, your phone plan is very easy. Here are 9 steps to making your iPhone secure.
(Courtesy of Yutaka Tsutano)
Locking the iPhone With a Password
Click on the “Settings” icon from the home screen. This is located on the far right hand side of the home screen and has gears on the icon. Under the “Settings” icon, click on the “General” icon. Click on the “Passcode Lock” icon. This is the passcode that will be used to get into your iPhone after a designated amount of time. On the “Auto-Lock” menu you can choose how long you have before the passcode locks the phone. You can also enter the amount of times a bad password can be entered before the iPhone erases all of the data n the device. Choose your options and then click the “Save” button.
Location Services
The iPhone is one of the best phones for location services because it has an automatic GPS built into the device. This is great for GPS apps and turn-by-turn directions, but not so great for people who want to track you and your phone. You can turn off this feature by clicking on the “Settings” icon. Click “General” and then click on the “Location Services” icon. Click the “Off” button to turn off the location services to your phone. This might interfere with any GPS apps so if you use GPS a lot, you will need to re-enable the GPS services.
WiFi Access
If you are not securing your WiFi access, you could easily be hacked. When the phone is set to automatically connect to WiFi, you could be on networks that are not secure. You can turn this feature off by clicking on the “Settings” icon and then clicking on “WiFi.” Click on the “Ask to Join Networks” icon and then turn it to “On” from the control panel. Click the “Save” button to save the configuration.
SSL Connection
SSL is one of the best encryptions online. If you are not using an SSL encryption while surfing through Safari, you could be at risk. When you load a webpage, make sure that it has an SSL encryption. This is signified by a lock at the bottom of the webpage.
SSL Email Settings
You can also use an SSL encryption for getting your email. Go to the “Settings” icon and then click on the “Mail” icon. Click on the “Contacts” button and then click the “Calendars” option. Click “Your Account” and then click “Advanced.” Choose the “Use SSL” option from the menu to start retrieving your email through an SSL connection.
Securing Safari
Safari is the onboard browser for your phone. If you have not secured Safari, you could be at risk. Go the “Settings” button and then click on the “Safari” icon. Turn off the JavaScript and reject or delete the cookies on your phone to ensure that you have taken the necessary security precautions.
Using a Secure Data Store
If you buy a lot of products from the App Store, you will need to make sure that your data transfers are secure. Go into the “App Store” icon and choose the security parameters that you want for your account.
Secure Passwords
In order to keep your passwords secure for downloading, you will need an application that can keep your information safe. There are several applications in the App Store that will help you. Some of these are offered for free but you will have to pay for others.
Back up Your Phone
Connect your iPhone to iTunes and back up the data. You should be doing this weekly to ensure that all of your data is safe. Once you connect the phone to the software, iTunes will guide you through the process. It might take a while so it’s best to do it overnight. If you have a Sim Only with Internet plan, this can make the process easier.
This is a guest article by Ruben Corbo, a writer for many websites including Sim Only where you can get SIm Only with internet to budget your mobile phone spending. When Ruben is not writing he’s producing or composing music for short films or other visual arts.